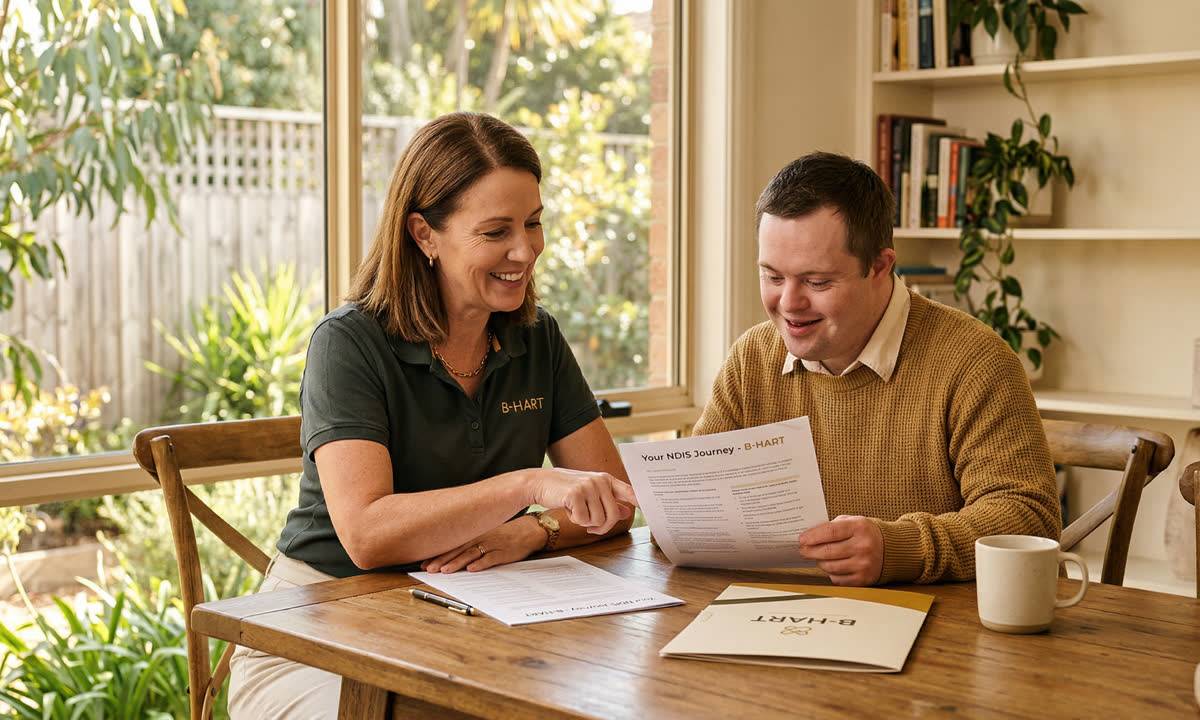
Co-design in disability services is more than “asking for feedback”. It’s a way of working where people with disability have real influence over decisions that affect their lives — not just a seat in the room. If you’re a provider trying to lift quality, trust, and outcomes, genuine co-design can become one of the strongest parts of your practice. When it’s done well, it doesn’t just produce a better policy or process — it changes relationships.
Co-design vs consultation (and why the difference matters)
A lot of organisations say they “co-designed” something when what they really did was consultation. The difference is simple but important: in co-design, people participate and have a decision-making role; in consultation, you’re gathering views to inform decisions made by the organisation.
That distinction matters because people with disability can usually tell when the decision was made before the workshop even started. When that happens, trust drops, staff confidence drops, and the next engagement gets harder.
Practical definition: Co-design means shared decision-making, not just shared ideas. If decisions are locked in, say so — and use a different engagement method.
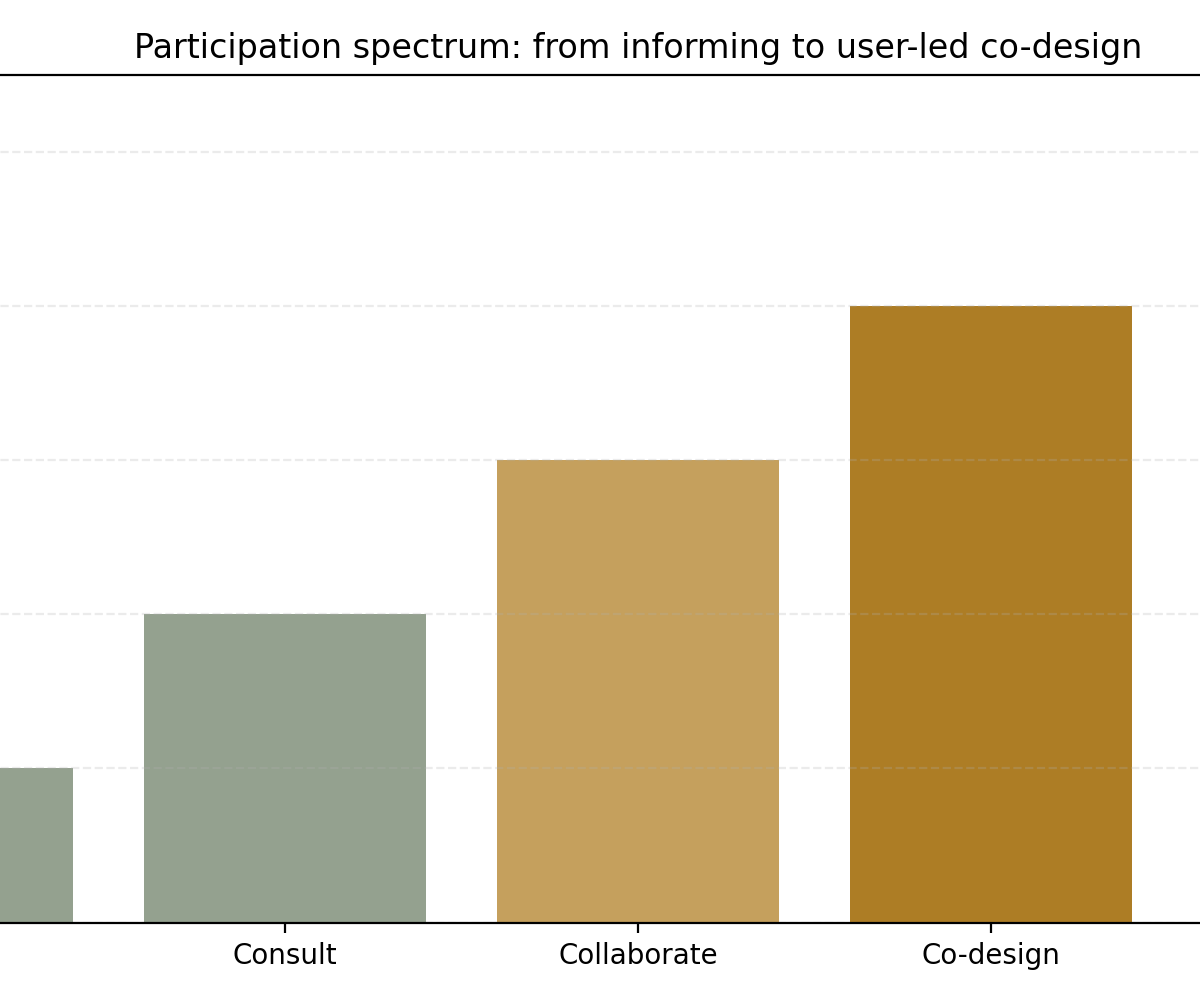
A practical participation spectrum for providers
Not every task needs full co-design. Sometimes you genuinely just need to inform people about a change, or consult on options. The problem starts when the engagement method doesn’t match what you’re calling it.
One way to plan this is to think in levels: informing, consulting, collaborating, co-designing, and user-led work. The higher you go, the more power and decision-making is shared — and the more support you need to do it well.
If you already know the outcome, don’t run a “co-design workshop” to rubber-stamp it. Name the constraint, share what’s still changeable, and choose a lighter engagement method.
Before you invite anyone: set the conditions for a safe, respectful process
Co-design is not free labour. It asks for time, energy, and often emotional effort — especially when people are sharing experiences of exclusion, poor practice, restrictive environments, or burnout from navigating systems.
If you want honest input, you need to build the conditions where people can participate safely and meaningfully. That means good preparation, accessibility, and payment.
- Be clear about what is in scope, what is not, and what can realistically change
- Budget for payment and expenses (transport, support person costs, interpreters)
- Offer accessible formats (Easy Read, Auslan, plain-language summaries, captions)
- Allow real prep time — don’t send documents the night before
- Recruit beyond the “usual voices” and check who is missing
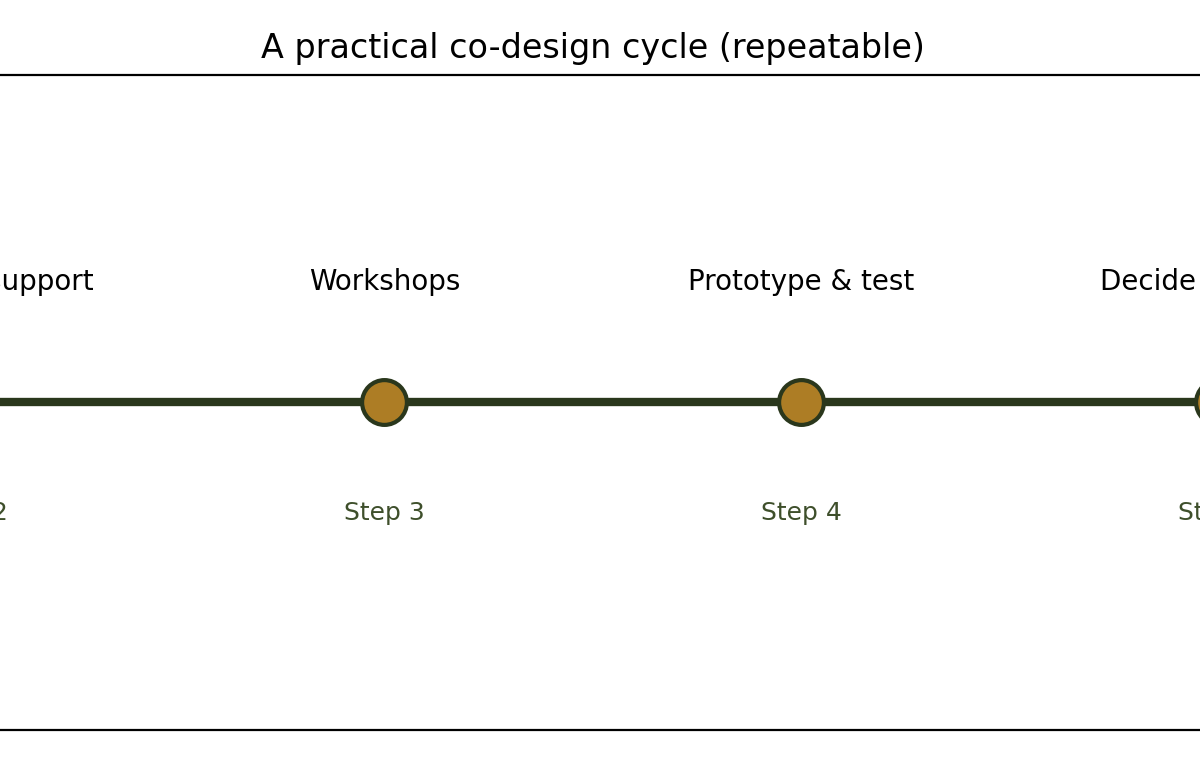
A repeatable co-design cycle you can run (without burning people out)
Providers often ask: “What does co-design actually look like in practice?” Below is a simple cycle you can run for everything from improving onboarding, to redesigning incident response, to strengthening restrictive practice safeguards.
Scope the decision and write a plain-language “decision brief”
One page is enough: what problem you’re solving, why now, what you can change, what you can’t, and who will make the final call (and how).
When you do this well, you stop wasting people’s time. People can choose to join when they understand what’s genuinely open for discussion. It also gives facilitators permission to keep the group focused, because the brief becomes a shared reference point.
Recruit with intention (and partner with representative organisations)
Build diversity on purpose: different disability experiences, cultures, genders, ages, locations, and communication styles. Don’t just invite the easiest-to-reach people.
For providers, this often means partnering with disability representative organisations, advocacy groups, and community networks. They can help you reach people who don’t usually show up to provider-led forums (because they’ve been disappointed before, or because the process is inaccessible).
Make the process accessible before the first workshop
Offer multiple ways to participate: online or in-person, written, spoken, Auslan, Easy Read. Confirm access needs early and remove barriers, not people.
Accessibility is not just ramps and captions. It’s pacing, sensory load, the length of sessions, the way information is presented, and whether people can bring someone who supports them. If the “cost of participation” is too high, the people you most need to hear from will be filtered out.
Workshops: slow down and share power
Good facilitation makes room for different communication styles, uses plain language, and creates real choices. A “fast meeting” is rarely an inclusive meeting.
In practice, shared power can look like: letting the group set priorities for the session, using co-facilitation, inviting people to review the notes in their preferred format, and giving people a genuine right to disagree without being labelled “difficult”.
Prototype and test in the real world
Turn ideas into draft scripts, templates, or process maps and test them with the people who will live with the outcome. Fix problems early while it’s still cheap.
For example, if you’re redesigning an incident response process, prototype: the participant-facing explanation, the staff checklist, the communication script for families, and the escalation pathway. Then test the clarity and emotional impact, not just the logic.
Decide, then explain the decision transparently
Publish a short decision log: what you changed, what you didn’t, and why. If constraints exist, name them. Trust comes from honesty, not perfection.
This is where many projects fail. People give input, then hear nothing. A decision log closes the loop and shows respect for effort. It also protects your organisation internally: staff can see why the change is happening and what evidence shaped it.
Payment and recognition: make sure people aren’t worse off for participating
Co-design asks people to bring expertise that organisations can’t buy off the shelf: lived experience, community knowledge, and insight into what actually happens when a policy hits real life. If you don’t recognise that contribution, you create a quiet barrier: only people who can afford to volunteer will participate.
A practical starting point is a simple principle: people with disability should not be financially worse off because they took part. That means you plan for payment and reimbursements early, not as an “extra” later.
Pay for time
Budget a fair rate for workshops, prep time, and follow-up review (reading drafts, checking notes, testing prototypes).
Cover expenses
Transport, accessible taxis, parking, support worker time, Auslan, interpreters, childcare — these costs decide who can show up.
Pay promptly
Long payment delays are effectively a barrier. Aim for simple admin and fast turnaround.
Offer choice
Different people need different options (invoice, bank transfer, honorarium). Decide with participants, not for them.
A quick self-check: are you resourcing accessibility and support?
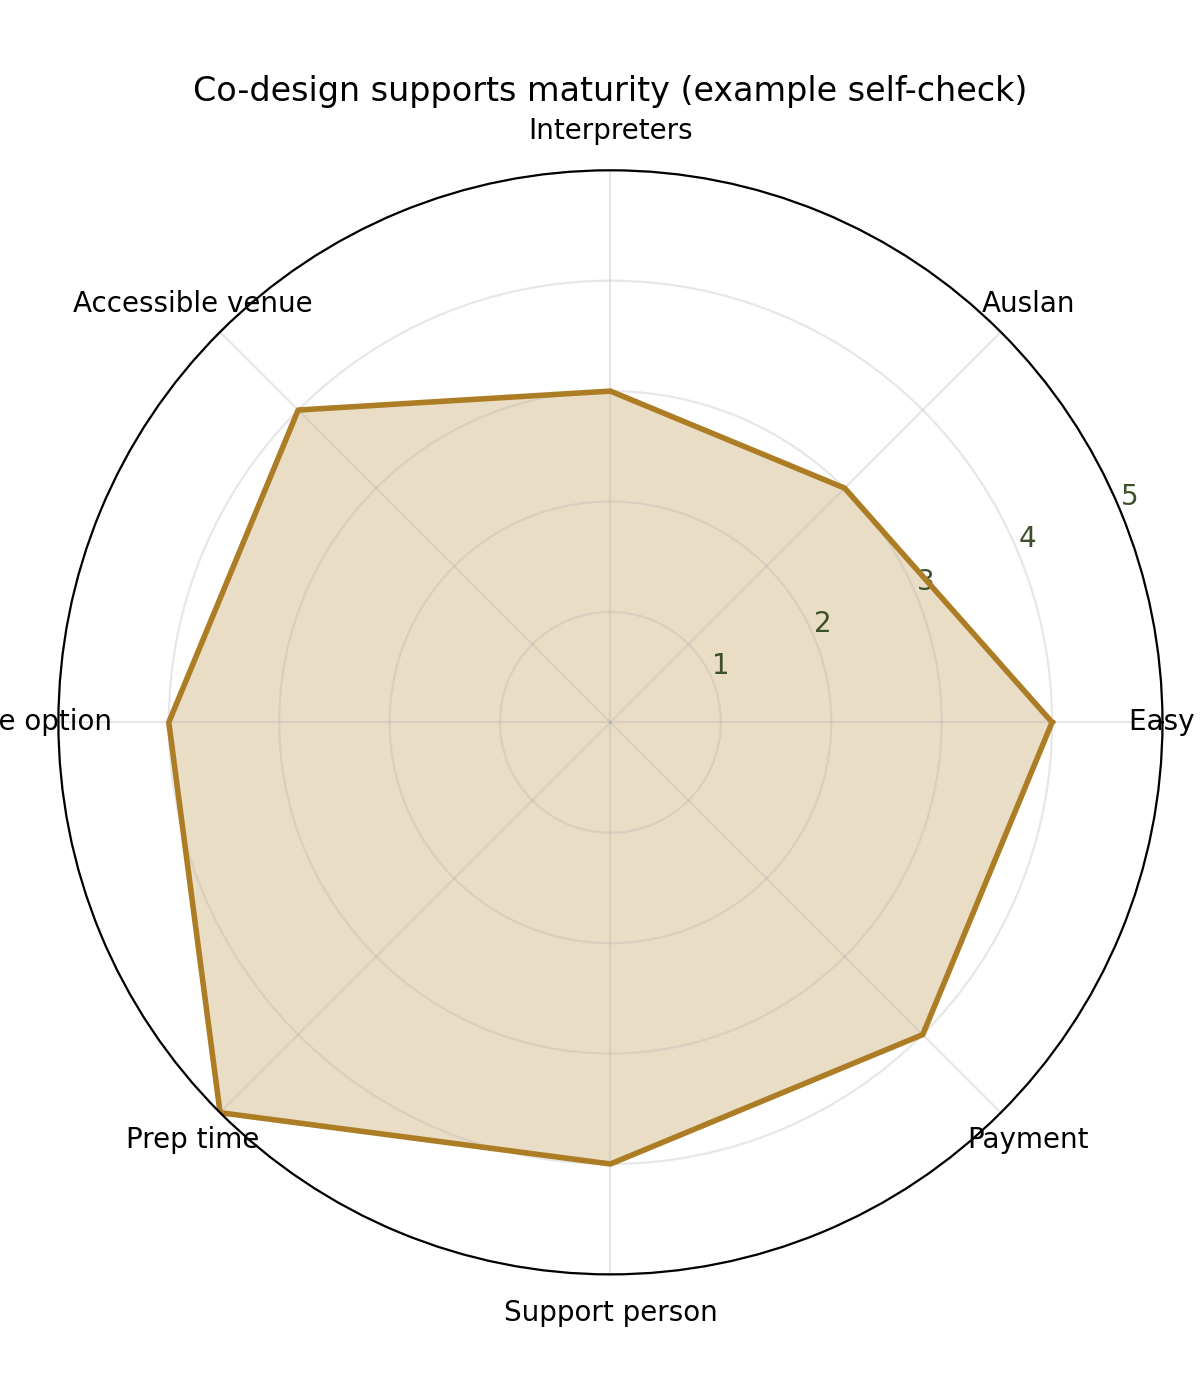
A practical way to avoid accidental exclusion is to do a quick “supports check” before you run the process. If you’re asking people to show up, share, and think deeply, you need to remove avoidable barriers.
The point isn’t to score yourself. It’s to spot the gaps that will quietly shape who participates. For example, if you can only offer written feedback pathways, you’ll miss people who communicate better through conversation, Auslan, or visual methods.
If you can’t fund payment and supports right now, that’s not a reason to hide it. Be honest about limits so people can make an informed choice about participating.
Common co-design risks (and how to prevent them)
Even well-meaning projects can slip into tokenism or become inaccessible. The goal isn’t to “get it perfect” — it’s to prevent predictable harms: wasting people’s time, excluding people through process design, and extracting lived experience without fair recognition.
Below are a few common risks providers can plan for, along with simple mitigations that can be built into your project plan from day one.
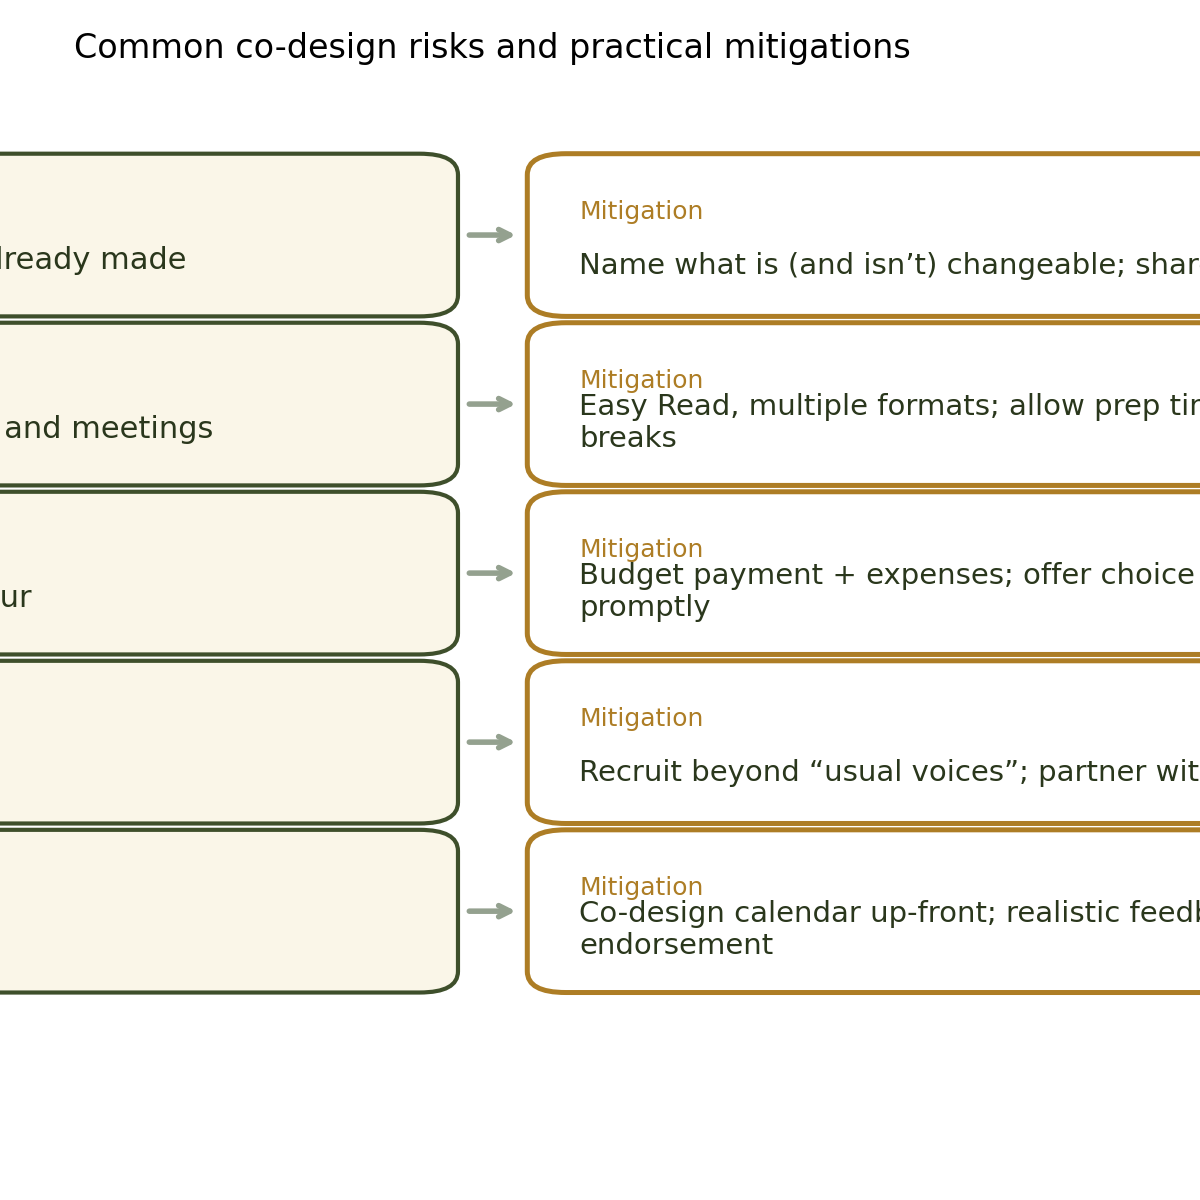
❌ When co-design goes wrong
- Decisions are made first, then “validated” in a workshop
- People are asked to react quickly to complex, inaccessible documents
- Only a small, handpicked group is invited
- Feedback disappears with no explanation
✅ When co-design is done with integrity
- Scope is clear, and decision-making is transparent
- People get support, time, and accessible formats
- Recruitment prioritises diversity and representation
- There’s a decision log: what changed and why
How to bring co-design into everyday disability services work
Co-design isn’t just for “big strategy” projects. Providers can use it in day-to-day improvements that directly affect people: onboarding, communication, complaints, incident response, how rosters are built, how restrictive practices are prevented and reviewed, and how staff are supported to practise with dignity.
The trick is to start where it will genuinely change a person’s experience. One small, well-run co-design project can shift culture because staff see it working — not as a “compliance activity”, but as a better way to deliver services.
Good candidates for co-design
- Participant onboarding and first 90 days
- Complaints and feedback pathways
- Communication standards (plain language, Easy Read, interpreters)
- Worker capability uplift (rights-based conversations, de-escalation)
Better suited to consultation
- Choosing between two compliant software options
- Gathering feedback on a draft policy where constraints are fixed
- Testing the clarity of a document (Easy Read check)
- Prioritising improvements within a fixed budget
What to document so your co-design can stand up to scrutiny
For providers, co-design shouldn’t be “vibes-based”. You want a record that shows the work was respectful, accessible, and genuinely influential — especially when you’re working in areas that intersect with regulation, safeguarding, and restrictive practices.
- Decision brief: scope, constraints, and how decisions will be made.
- Accessibility plan: formats, supports, interpreters, pacing, and how access needs were met.
- Participation approach: who was invited, how diversity was supported, and who might be missing.
- Workshop outputs: what was said (accurately), themes, and points of difference.
- Decision log: what changed, what didn’t, and why (in plain language).
- Evaluation: participant feedback on the process, and what you will improve next time.
People can usually handle constraints. What they can’t handle is being told they had influence when they didn’t.
— A simple rule for trust-building co-designKey Takeaways
Key Takeaways
- Co-design means shared decision-making; consultation gathers views but keeps decisions with the organisation.
- Choose the right engagement level and be honest about what is changeable.
- Budget for accessibility, prep time, and payment — co-design is not free labour.
- Use a repeatable cycle: scope, recruit, support, workshop, test, decide, then learn.
- Publish a decision log so people can see what changed and why.
Frequently Asked Questions
What is co-design in disability services?
Co-design is a way of working where people with disability participate and have a decision-making role in planning, designing, and delivering policies, processes, or resources. It’s different from consultation because influence is shared, not just opinions gathered.
Do we need to pay people with disability for co-design?
If you’re asking people to contribute time, expertise, and lived experience, fair recognition matters. Payment and expense reimbursement are practical ways to show respect and avoid making people financially worse off for participating.
How do we avoid tokenism in co-design?
Start with honesty: be clear about scope and decision-making. Recruit beyond a small handpicked group, provide accessible information with enough time, and publish a decision log that shows what changed (and what didn’t) with reasons.
What if we can’t do full co-design for every decision?
That’s normal. Use a participation spectrum and match the method to the decision. The key is not calling something co-design if the power-sharing isn’t there.
Want to build co-design capability in your organisation?
B-HART helps providers embed a human rights-based approach and build practical systems that hold up in the real world.
Talk with B-HARTYou can also explore B-HART Certification and our rights-based approach to disability services.